Everything has a price – even non-profit organizations need funds to continue their operations.
But how can you share your mission and connect with donors worldwide without a strong presence online?
You can’t, and that’s why, you need a website.
If you’re a complete beginner, WordPress.org stands out as the perfect site building platform.
It offers thousands of plugins and themes, so you can easily customize the look and feel of your site without coding.
Even if you find the interface too complex, you can always hire a WordPress website development agency like Intelivita.
In this article, we’ll show you how to create a non-profit website using WordPress, step by step.
1. Set Clear Goals and Objectives
First things first, decide on the type of website you will create.
Are you building a simple digital business card?
Or do you need advanced functionality that lets visitors make donations? You can integrate this feature directly into your website or, if you’re still uncertain, consider utilizing donation platforms as an alternative.
This stage is crucial to find out what features you need, how the website looks, and how much money you have to spend.
If you’re unsure where to begin, hire a WordPress consulting firm to guide you along the process.
2. Secure a Domain Name and Web Hosting Service
WordPress is an open-source content management system (CMS).
So, you need to buy a domain name and web hosting service separately to host it.
Not sure what those terms mean?
Let’s break them down:
- A domain name is the address people use to find and visit your website. For example: www.intelivita.com.
- Web hosting refers to a service that stores your site’s files, including images, videos, and text. Without it, internet users won’t be able to access your website.
Now, it’s crucial to choose a domain name that describes your non-profit brand well.
Make sure it’s short and sweet, so people can easily remember it.
Here’s a great example: www.savethechildren.org.
Hosting brands like GoDaddy and Hostinger also offer domain registration, helping you manage both services in one place.
3. Pick a Theme
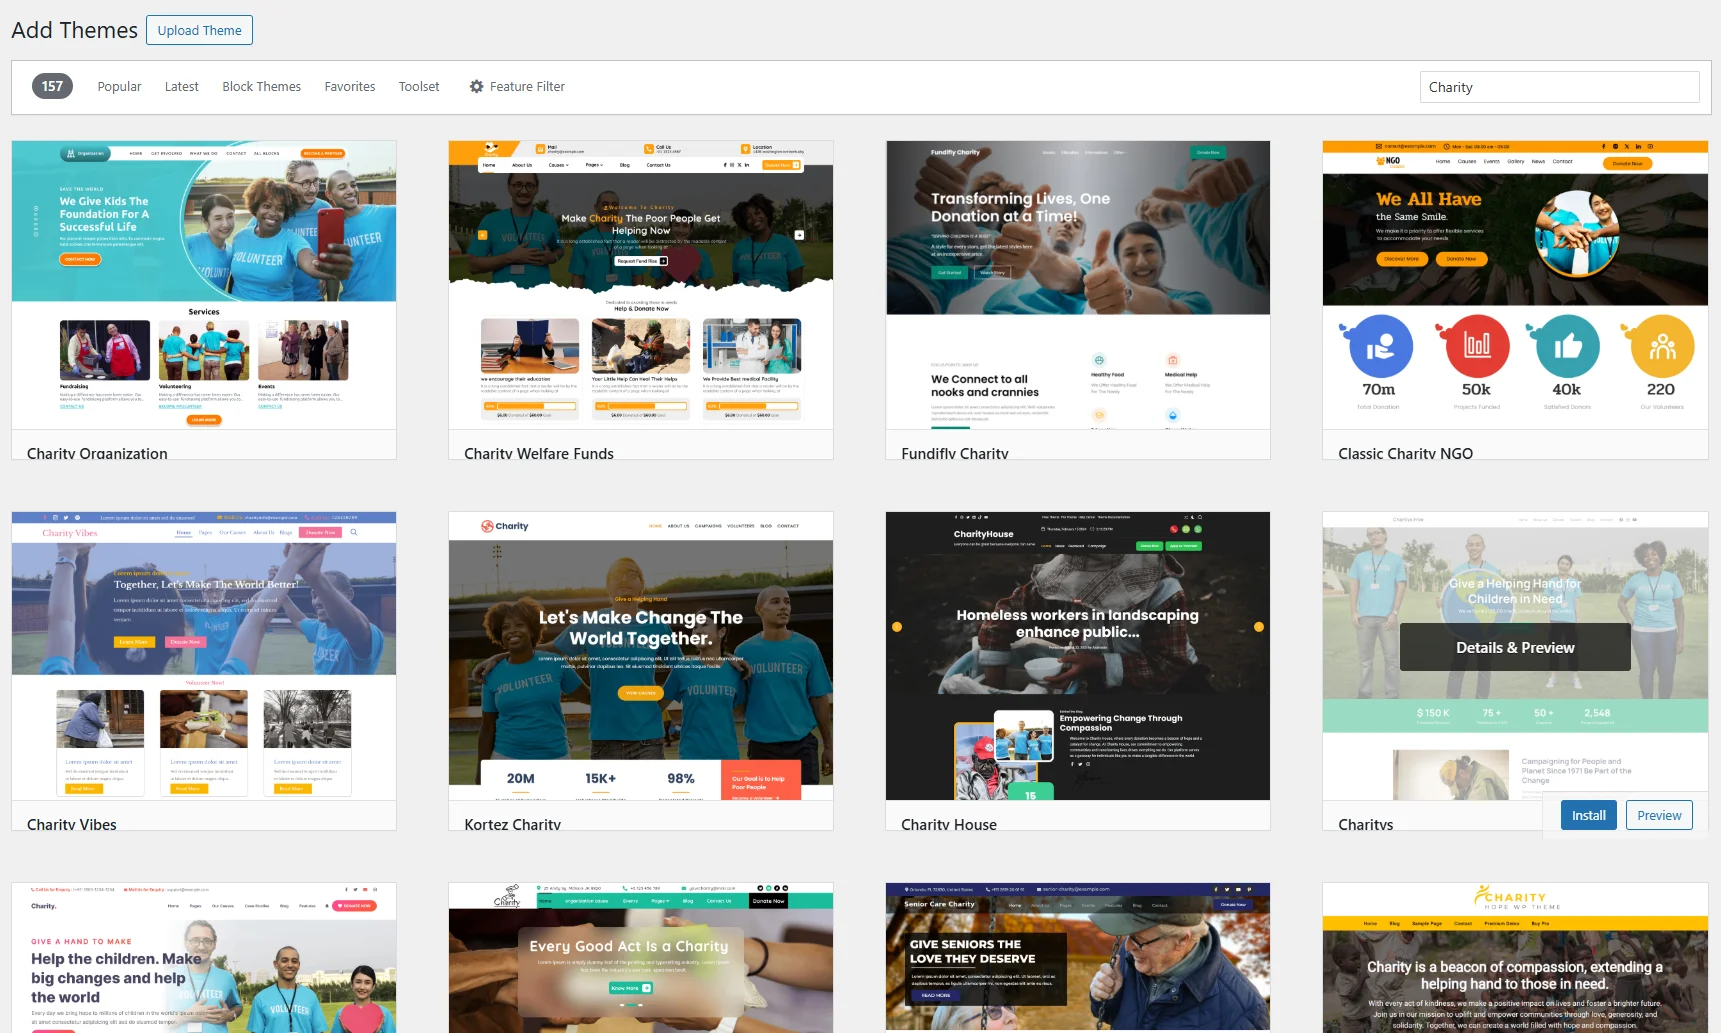
There are many free WordPress themes available in the WordPress directory, some designed specifically for non-profits.
When choosing a theme, look for these features:
- Functionality: Does the theme offer features specifically useful for non-profits, like donation buttons, volunteer signup forms, event calendars, and testimonial sections?
- Design: Make sure the layout, colors, and fonts align with your organization’s brand identity and target audience.
- Responsiveness: Check whether the theme works smoothly and looks good on any devices, including desktops, smartphones, and tablets.
- Customization: Look for themes that support the Gutenberg editor or popular page builders like Elementor.
- Support: As a beginner, you need all the help you can get. That’s why, it will be great if the theme developer offers good customer support in case you encounter any issues.
4. Install Plugins
Once you’ve selected a suitable theme, the next step is to install the necessary plugins.
By doing so, you can enhance your site’s functionality.
For non-profits, here are several plugins that help you streamline operations, manage donations, and connect with your audience:
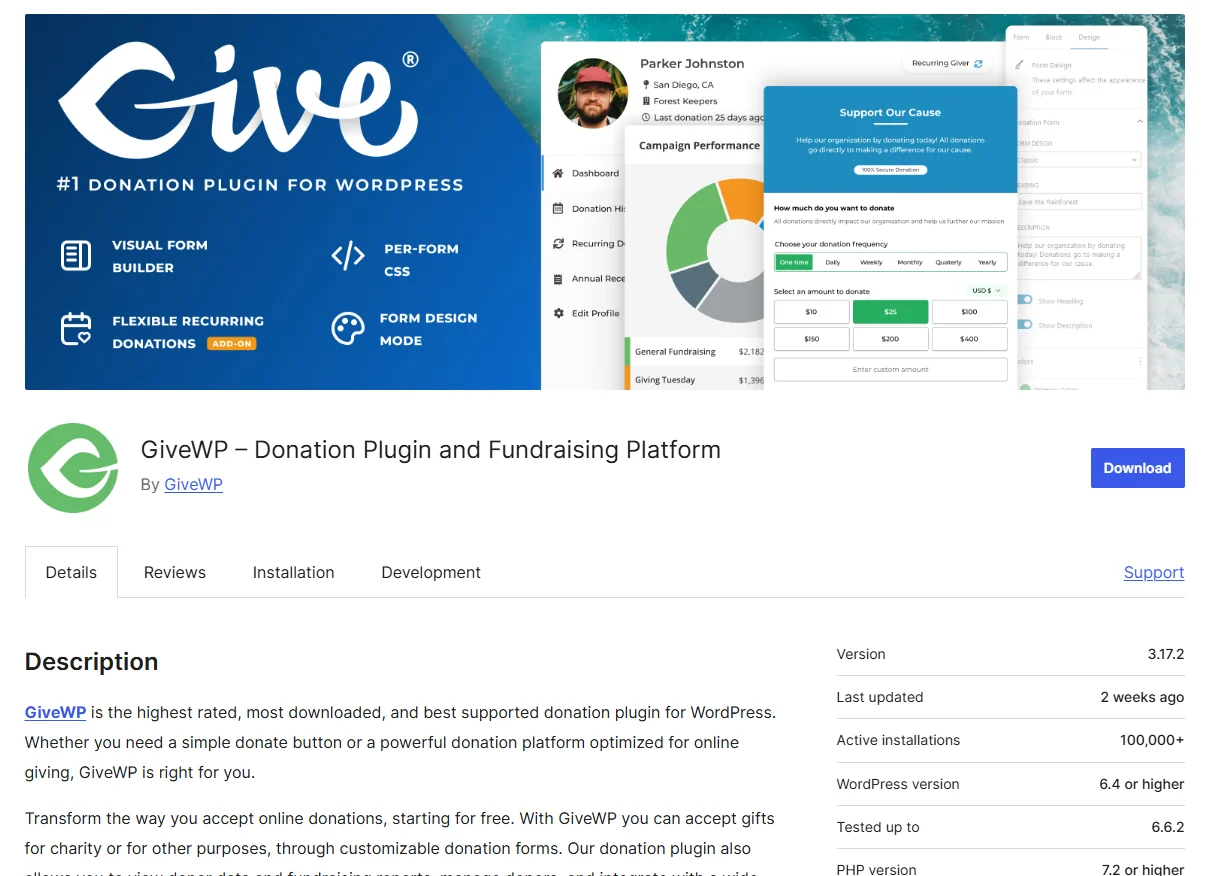
1. GiveWP
By far the most downloaded donation plugin available, GiveWP allows you to create custom donation forms and buttons without hassle.
You can add goals, donation amounts, and even terms and conditions via Gutenberg blocks.
Plus, it comes with an analytics dashboard, giving you access to donor data and fundraising reports in one place.
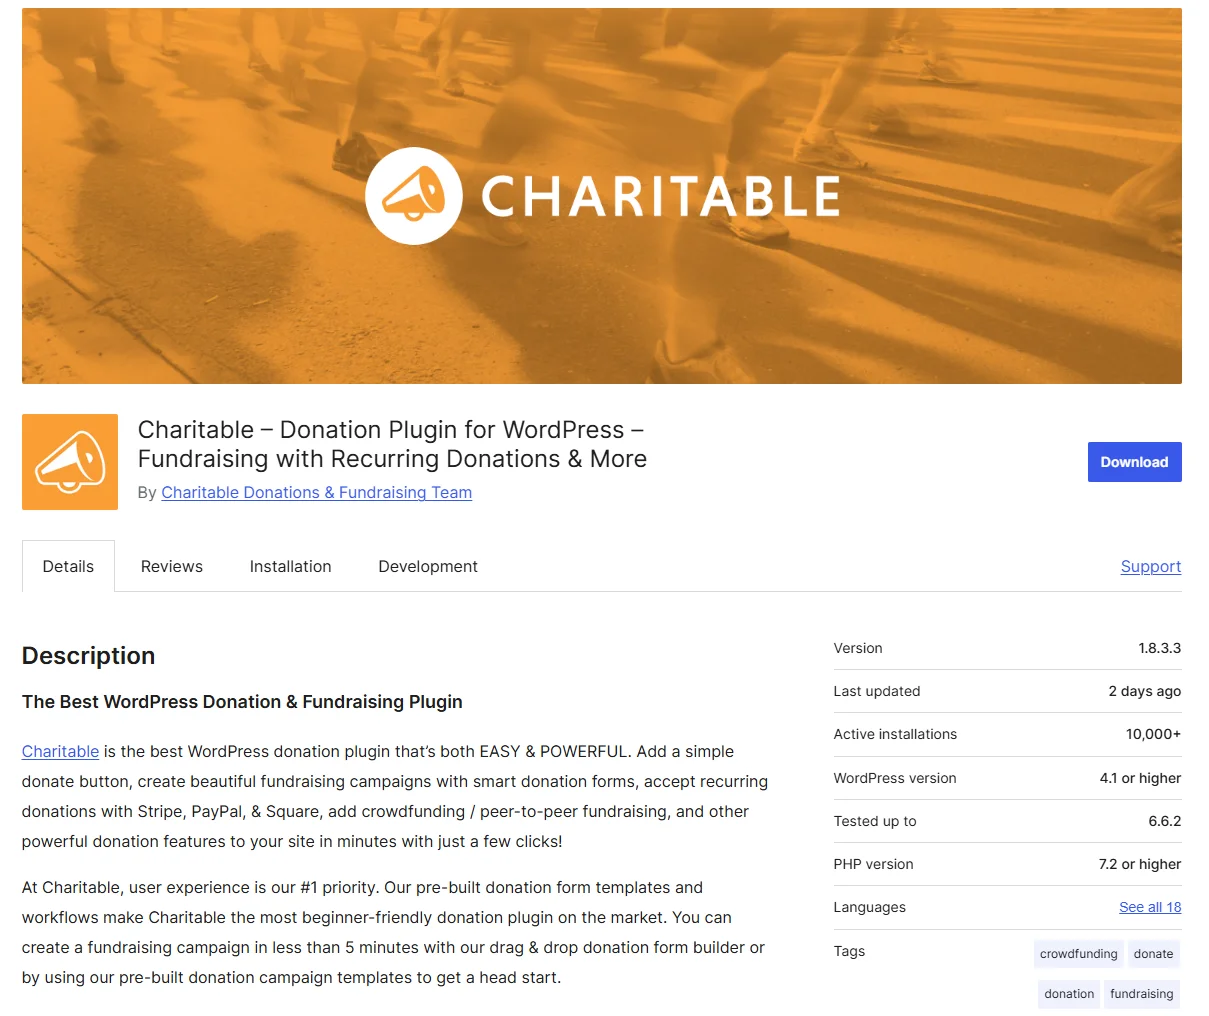
2. Charitable
Charitable is another popular non-profit plugin that makes fundraising a breeze.
All you have to do is create a new campaign, set the donation goals, and choose a specific date in which the campaign will automatically end.
What’s more, this plugin supports PayPal and Stripe, so you can accept funds securely and easily.
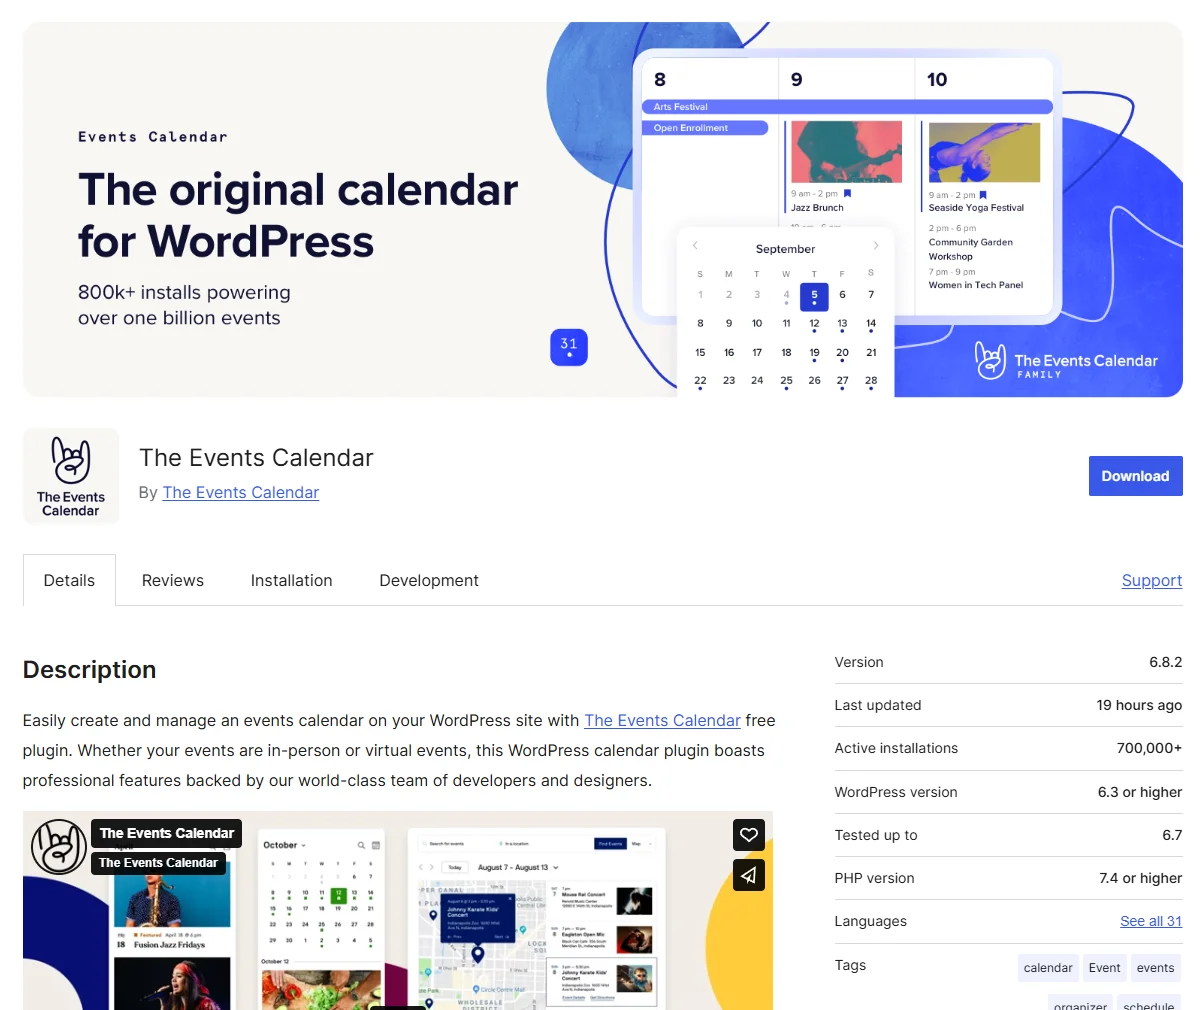
3. The Events Calendar
Want to host fundraising events, volunteer opportunities, or awareness campaigns?
Use The Events Calendar to manage it all.
This plugin allows you to create clear, informative listings for all your events, complete with a description, date, time, location, and registration link.
This way, you can create buzz around your events and sell pre-sale tickets faster.
5. Publish Content
You’re almost there!
All there’s left to do now is to promote your site using content marketing strategies.
Start by researching keywords using tools like Ahrefs or Semrush to find content ideas.
After that, create informative and high-quality blog posts around your niche.
For instance, if you’re running an animal shelter, you can write about:
- Common Misconceptions About Shelter Animals
- How to be a Volunteer at an Animal Shelter
- The Benefits of Adopting a Mature Pet
Do this consistently, and sooner or later, your site will start ranking higher on Google.
Ready to Build Your Nonprofit Website?
Nonprofit website development with WordPress can be a complex affair, especially if you don’t have the technical know-how.
Luckily, Intelivita is here to make everything simpler for you.
From setting the goals to buying a hosting service to developing your non-profit site from scratch, we’ll handle every step, so you don’t have to.
Contact our experts today and let’s make your ideas happen.


