Building an e-commerce site might sound like a huge task.
But thanks to WordPress, you don’t need to be a coding expert to set up an online store.
This platform is designed to make the process easy, even for beginners.
To prove it, we’ll take you through every step of e-commerce website development with WordPress.
So, by the end of this article, you will know how to create a functional e-commerce site like a professional WordPress development agency.
How to Create an E-commerce Site with WordPress
Let’s break down the process of building your very own e-commerce site with WordPress:
1. Pick a Web Hosting Service and Domain Name
Before your e-commerce website can go live, you need two essential things: a web host and a domain name.
Think of web hosting as the space where your website lives on the internet and your domain name as the address people use to find it.
To pick the right web hosting service, you must:
- Pay Attention to the Features: Make sure the provider includes security features like SSL certificates and scalable hosting plans.
- Evaluate Uptime Guarantees: Uptime is critical for e-commerce sites. Look for hosts that guarantee at least 99.9% uptime to ensure your store is always accessible.
Also, here are several tips to help you select the perfect domain name for your online store:
- Keep It Short: A short, catchy domain name is easier for customers to remember and type correctly.
- Check Availability: Use a domain name registrar to see if your desired name is available.
Still unsure about your web hosting and domain name?
WordPress consulting service providers can help you pick the best choices.
2. Install WordPress
There are a couple of methods you can use to install WordPress on your site.
Here are the most common ones:
- One-Click Installation: Many web hosting providers offer a one-click installation option for WordPress. This method is quick, easy, and perfect for beginners.
- Manual Installation: If your host doesn’t offer one-click installation, you can download WordPress manually from wordpress.org and upload it to your web server.
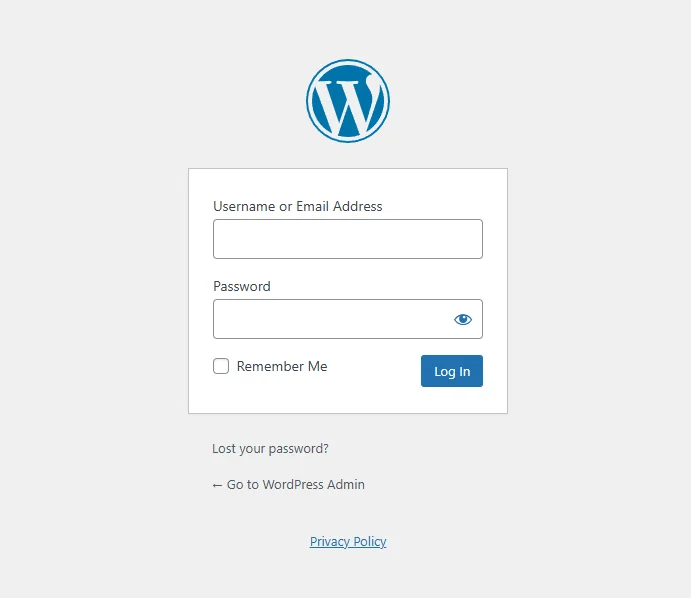
No matter which method you choose, after the installation, you’ll be able to go to “yourdomain.com/wp-admin” and log in with your admin credentials.
With WordPress installed, now you’re ready to choose a theme that will define the look of your online store.
Let’s dive into that!
3. Choose an E-commerce Theme
Choosing the right theme matters as it directly affects how visitors interact with your website.
Make sure the theme is specifically designed for e-commerce and compatible with WooCommerce or your chosen e-commerce plugin.
Can’t decide?
No worries, these themes can be good WordPress e-commerce solutions for you:
- Shopkeeper: A user-friendly theme that comes with a clean design and plenty of pre-built e-commerce layouts.
- OceanWP: Known for its speed and flexibility, OceanWP is also a great choice for e-commerce sites, as it offers many extensions and works well with WooCommerce.
4. Install Plugins
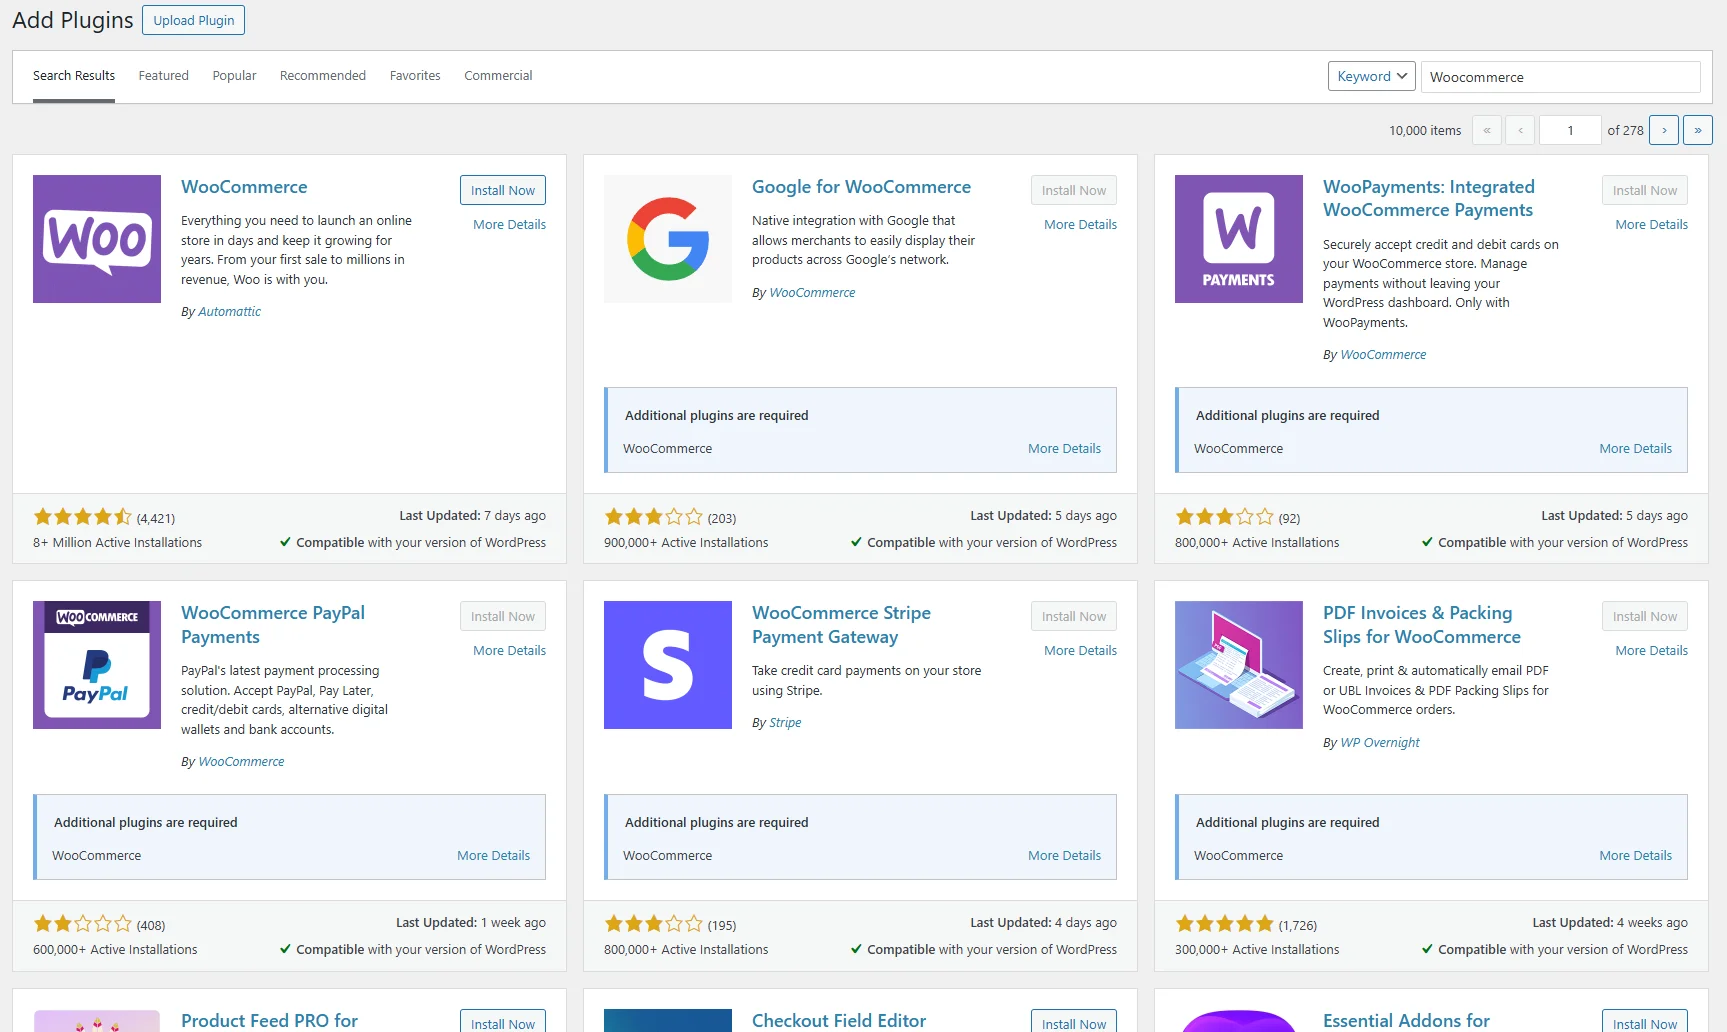
Plugins allow you to extend the capabilities of your site.
For an e-commerce site, plugins are particularly essential as they provide the necessary tools to manage your online store effectively.
Here are some must-have plugins to ensure your e-commerce site performs well:
- WooCommerce: The most popular e-commerce plugin for WordPress. It allows you to manage products, handle sales, and process payments seamlessly.
- Wordfence Security: This plugin provides complete security features such as firewall, malware scanning, and login security to protect your store from online threats.
5. Fill Up Your Store
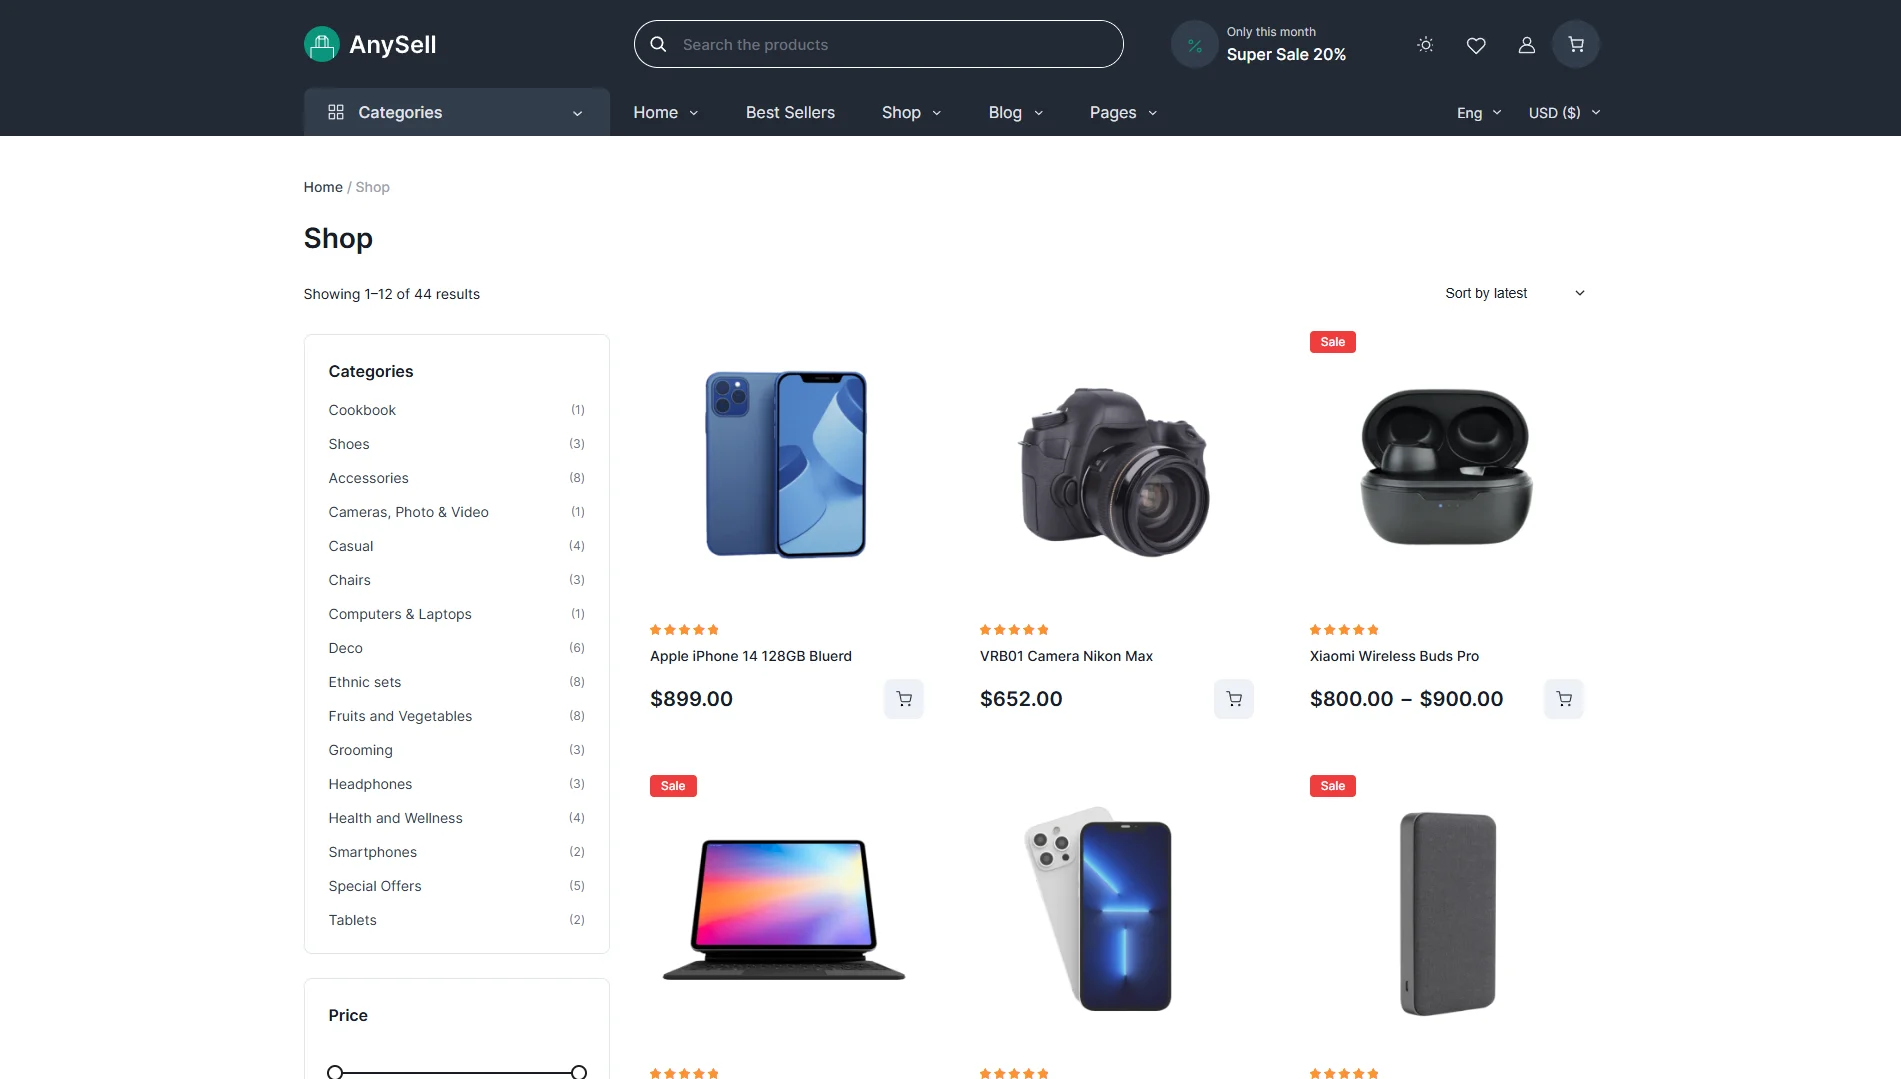
Now let’s start adding your products and more content to your online store.
Make sure your product images are high-resolution and professionally taken.
Because good photos can impact a customer’s decision to buy.
Furthermore, highlight key features, benefits, and any unique selling points when describing your products.
You might also want to add these are important pages to your e-commerce site:
- Contact Page: Provide contact information and a form for customer inquiries. Include your email, phone number, and physical address if applicable.
- FAQs: Create a Frequently Asked Questions page to address common customer questions. This can reduce support requests and provide quick answers.
- Shipping and Return Policy: Clearly outline your shipping rates, delivery times, and return policies.
Congratulations! Now you have a professional-looking online store.
However, this is not the end, do regular check-ups to make sure everything runs perfectly.
Plus, updating your content will keep your potential customers engaged.
Conclusion
Now you know how to create a fully functional e-commerce site.
It might seem like a lot at first, but it’s totally manageable when you break it down into simple steps.
But if the process still feels overwhelming, consider partnering with a reliable WordPress web development company like Intelivita.
We’ll help you with the technical stuff, optimize your site, and provide support to keep your online store running smoothly.

